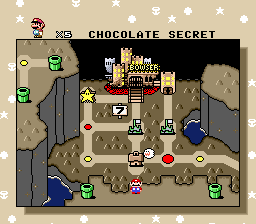
96 Exit & No Starworld
When entering the stage, hold right, run and a jump button. Do not release this jump button until Mario's feet touch the ground. If you release the jump button too soon, Mario may reach the buzzy beetle at a different point in the cape framerule, and not pick it up.
Normal Room 2
Video: Chocolate Secret - Cape Source: Sten
|
Early Takeoff Room 2
Video: Chocolate Secret - Cape Source: SilverStar6609
|
All Castles
|
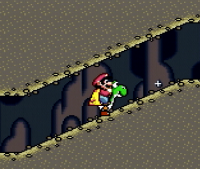
👀 Visual Cue:
Take off just before the fifth raised bump on this slope.
|
Room 1 Dive Bomb Strat
It is important to stick out Yoshi's tongue on the jump after the dive bomb to avoid possibly getting hit by the Chargin' Chuck. Refer to other videos for rooms 2 and 3.
Video: Chocolate Secret - Cape, Yoshi Source: Vert
|
Fast Strat
Video: Chocolate Secret - Cape, Yoshi Source: Sten
|
Faster Strat
First jump is right before the slope breaks. Release B once yoshi's nose is between the sparkles in the background. Eating the spike top in room 3 saves a handful of frames and is quite easy.
Video: Chocolate Secret - Cape, Yoshi Source: SilverStar6609
|
95 Exit, No Cape & No Cape, No Starworld
Safe Strat
It is possible to avoid bouncing left on both chucks in the third room, but it can be tricky.
Be careful on the sloped layer 2 platforms, they can eat jump inputs.
Video: Chocolate Secret - No Cape Source: Sten
|
Luck Based Strat
This strat is usually not recommended, as it is "luck" based. The chuck kicks a football every 128 frames based on a global timer; about 24 frames give a football that Mario will need to jump under while another 24 frames will give an undodgeable football, giving about a 3/16 chance of taking a death even with perfect gameplay. The chuck bounces in the 3rd room can be avoided by a slight left-right.
Video: Chocolate Secret - No Cape (Luck-based) Source: SilverStar6609
|
All Castles, No Cape
Video: Chocolate Secret - No Cape, with Yoshi Source: Fitz1889
|

