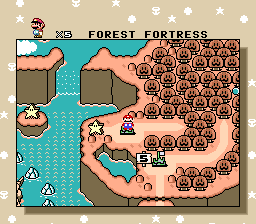
Difference between revisions of "まよいのもりのとりで"
Yuniruyuni (talk | contribs) (Created page with "{{LevelStats |title=まよいのもりのとりで |image=File:ForestFortress.png |96exit=211 |95exit=210 |lunardragon=211 |powerups=File:mushroom.png File:feathe...") |
Yuniruyuni (talk | contribs) |
||
| Line 38: | Line 38: | ||
{{Levels/ja}} | {{Levels/ja}} | ||
| + | [[Category:Japanese translation]] | ||
[[Category:まよいのもり]] | [[Category:まよいのもり]] | ||
[[Category:コース]] | [[Category:コース]] | ||
Latest revision as of 13:00, 8 September 2024
| まよいのもりのとりで | ||||||||

| ||||||||
| ← まよいのもり ひみつのコース1 ~ まよいのもりのしろ → | ||||||||
| Powerups | ||||||||
| Lunar Dragon | — | |||||||
| Goal Times | ||||||||
| ||||||||
Contents
96 Exit
Room 1
It doesn't really matter how this room is played, flying makes it a bit easier to avoid taking damage.
|
Video: Forest Fortress Room 1 - Cape Source: Sten |
Rooms 2 & 3
There are many ways to play the second room of this stage, the ones below are ordered by difficulty.
Consistent Strat
|
Video: Forest Fortress Room 2 - Cape (Consistent) Source: Sten |
|
Video: Forest Fortress Room 2 - Cape (Consistent 2) Source: Schwartz_RTA |
Faster Strat
This strat makes use of the flight meter to clear the early section just a bit faster. Alternatively, you can also use a spinjump at the start, but you need to spam your cape spin to delay the podoboos at the start.
|
Video: Forest Fortress Room 2 - Cape (Faster) Source: SilverStar6609 |
95 Exit, No Cape
Room 1
|
Video: Forest Fortress Room 1 - No Cape Source: Sten |
Rooms 2 & 3
The jump onto the podoboo and the jump to the wall triangle are quite precise. If these are too difficult, just wait out the podoboos and the saws and do the rest of the level as shown.
|
Video: Forest Fortress Room 2 - No Cape Source: Sten |